you will need:
- Cardboard - box and cardboard
- scissors
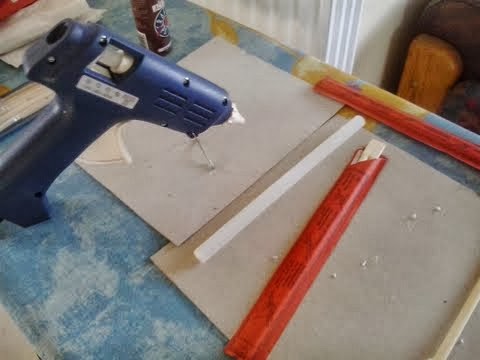
- glue gun/glue
- pens

- paint
 |
| demonstration of flaps |

2. once you have the shape of the top. measure out the sides and cut appropriate sized and shaped cardboard forms. Gluing the sides on was the trickiest part as the flaps kept coming apart when drying. Apply a heavy wait onto it.
 3. Once its dry see if it still fits onto the box if not do the final adjustments now before you paint. The top of mine was to big so i had to trim it a bit. Also decide if you whant the top and the box to join together. If yes glue to small flaps on one side to the inside of the box. If you just want to beable to lift of the top then you can cut the flaps of. And TADAM! you're ready to decorate!
 |
| i was rushing and didn't have enough time to wait for the glue to dry so i unfortunately had to use masking tape to hold it together |